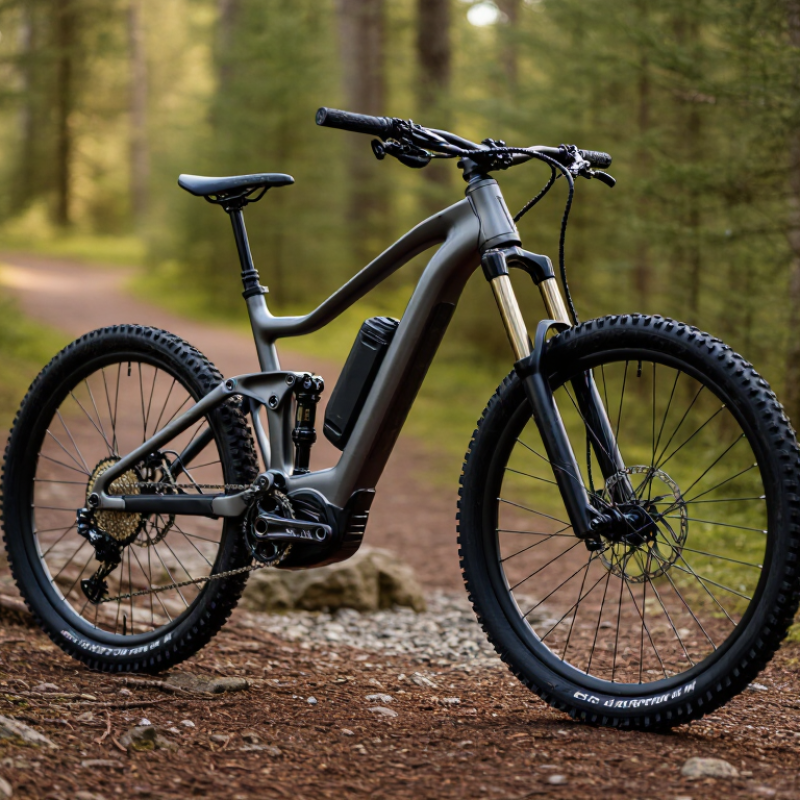
| 1. Match suspension travel to your terrain | Check the fork travel and, on a full-suspension bike, the rear travel. Consider whether you ride smooth paths, technical trails, or steep and rocky terrain. | For general trail riding, roughly 120–150 mm of travel is a common range. Confirm the bike’s intended use and suspension setup rather than choosing by travel alone. | Appropriate suspension helps the tires stay in contact with uneven ground while avoiding unnecessary weight or excessive movement on smoother climbs. |
| 2. Inspect the brakes for e-bike demands | Look for hydraulic disc brakes, rotor size, pad availability, and lever reach adjustment. Electric mountain bikes are often heavier than non-electric bikes. | Rotors around 180 mm are common; 200–203 mm rotors can provide more heat capacity for heavier riders, long descents, or demanding terrain. Check that the frame and fork support the chosen rotor size. | Consistent braking helps maintain control on steep descents and reduces the chance of brake fade during prolonged use. |
| 3. Check the gear range and shifting | Assess the number of gears, the easiest climbing gear, and whether the drivetrain is designed for the bike’s intended riding conditions. | A wide-range cassette, often with a largest sprocket in the First few? Actually fix. Use 50-52 teeth common. 11-50/10-52. | Lower climbing gears make it easier to keep a steady cadence on steep climbs; smooth shifts help preserve traction when terrain changes quickly. |
| 4. Evaluate tire grip and clearance | Review tire width, tread pattern, casing, and frame clearance. A 29-inch wheel describes the wheel diameter, not the tire’s width or grip level. | Many trail setups use tires roughly 2.3–2.6 inches wide, though suitable width depends on rim width, clearance, terrain, and rider preference. Check the manufacturer’s approved tire limits. | Suitable tires support cornering and braking traction. Adequate clearance helps prevent mud or debris from rubbing against the frame. |
| 5. Prioritize fit and handling | Compare the bike’s reach, stack, standover height, and seat adjustment with your body and riding position. Do not select a size based on wheel size alone. | Use the sizing chart as a starting point, then test ride if possible. Check that you can stand over the bike comfortably and steer without feeling stretched or cramped. | A well-fitting bike is easier to balance, corner, and control on technical sections, especially when the bike’s motor and battery add weight. |
| 6. Test motor assistance and weight balance | Try the available assistance modes and notice how smoothly power starts and stops. Check battery placement and how the bike feels when lifting or maneuvering it. | On a test ride, pedal up a short climb, make a slow-speed turn, and brake to a stop. Look for predictable assistance rather than abrupt surges. | Progressive assistance and balanced handling make it easier to manage traction on loose climbs and maintain control at low speed. |
| 7. Check setup, service, and trail readiness | Confirm suspension adjustments, brake condition, wheel security, battery locking, and access to compatible replacement parts and service. | Before riding, set suspension sag according to the component maker’s guidance, check tire pressure for the terrain, and verify that brakes and axle fasteners are secure. | Correct setup and routine checks improve predictable handling and help reduce avoidable mechanical problems on the trail. |